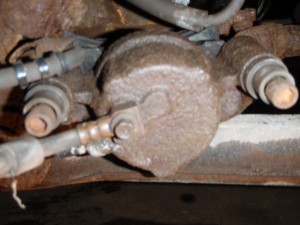
Pictured below is a broken Universal Joint.
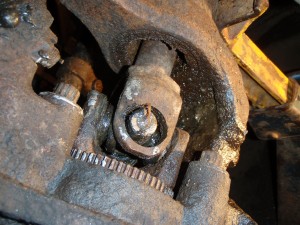
The broken universal joint is in the middle of the picture with a missing cap. It’s the hole with grease coming out of it. When you are driving you will know it is broken because it will make a loud knocking noise.
Disclaimer: I recommend that you visit and seek the expertise of a mechanic before making any auto repairs. Therefore, I assume no responsibility for any problems, breakdowns, or accidents experienced from readers of this post. It is the responsibility of the individual to safely maintain his or her vehicle.
Needed Tools:
- Lift or Jack and Jack Stand
- Lug Wrench
- Socket Wrench and Set
- Set of Hex Wrenches
- Rubber Hammer
- Hammer
- Large Flat Head Screw Driver or Chisel
Replacement Steps
1. Loosen lug nuts on tire
2. Lift or Jack vehicle. If you use a jack also use a jack stand.
3. Remove brakes. On the Dodge Ram you will find two hex bolts on the back.
You may need to use a large flat head screw driver to carefully pry around the edges to get it free. You will not need to disconnect the hoses. Set the braking system on the frame of the vehicle to get it out of the way.
4. Remove the rotor.
5. Remove bolts on back of wheel Bearing housing. It will have three bolts on the back side that you can remove with a 9/16 socket and wrench.
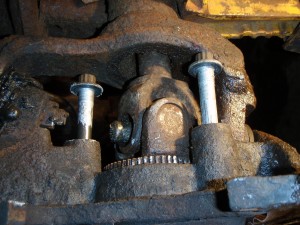
6. Carefully pull out the drive shaft by holding onto the wheel bearing housing and drive shaft. (if it’s stuck you may need to build a pulling attachment like this one. That is beyond the scope of this post). You don’t need to remove the bearing housing. You must be careful when pulling out the drive shaft because inside is a rubber seal and you don’t want to tear it. Pull it out straight and gently to prevent causing major issues.
7. Now that you have the drive shaft out of the vehicle. You will now want to remove all 4 clips (circled in red in the picture below) that are holding in the Universal Joint. Do this using a small screw driver and working under the edge and pry them out from one side.
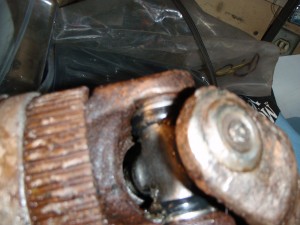
8. Once all clips are removed you can pound out the old Universal Joint from the yoke. Spray some WD-40 on the old universal joint. Put a large heavy duty socket that is larger then the universal joint cap under it and on top of a piece of wood. On the side you are going to pound on, use another socket which is one size smaller then the cap. Use the smaller socket to pound down the Universal Joint into the larger socket. Then you can remove the cap. Do this on both sides and then pull it out and dispose of properly.
9. Now you can take out the new Universal Joint from the packaging and remove the 4 caps and place them to the side. You need to be very careful with the Universal Joint caps because they have needle bearings in them which are only held in by grease.
10. Check inside the yoke (where you removed the old clips) for any metal burs. If you see any that might effect the new clips use a metal file to sand those down. Do the same for the areas that are attached to the drive shaft. Getting the new clips on tightly and secure are critical to making sure your Universal Joint does not come loose and break again.
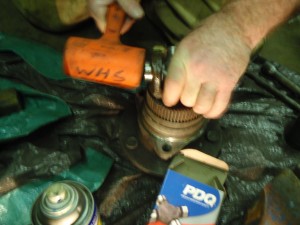
11. With the caps off position the Universal Joint into the wheel bearing housing. Then carefully place the cap on one side over the Universal Joint. Make sure it is far enough down so the needle bearings cannot come out. Then using a rubber hammer to gently pound the cap and universal joint far enough in so you can put on the clip and the other sides cap. With the clip on now pound back the other way until it stops and you have enough room to put on the other sides clip. Repeat these steps for the portion that attaches to the drive shaft.
12. Before putting it back together put Anti-Seize on the bolts and portion where the wheel bearing connects. When putting the drive shaft back in do it carefully so you do not tear the rubber seals where it attaches inside the motor.

Leave a Reply