This is a follow up to my first post on NServicebus and .NET Core. In this post I’ll switch my transport from training mode to RabbitMQ.
The code for this post can be found on Github.
Run RabbitMQ Host
First setup an instance of RabbitMQ. The fastest way for me was to use Docker.
Linux Example
docker run -d -h rabbitserver -p 15672:15672 -p 5672:5672 -p 5671:5671 rabbitmq:3-management
Windows Example
docker run -d --hostname rabbitserver --name rabbitserver micdenny/rabbitmq-windows
After running the docker container you should be able to view the management page via using http://hostname:15672 (Windows) or http://localhost:15672 (Linux).
Configure RabbitMQ Transport
To get a jump start I’ll pull down my previous hello world.
git clone https://github.com/JasonRowe/nservicebus_netcore.git
Then I’ll install the nuget packages for RabbitMQ transport using Visual Studio package manager console (Tools > Library Package Manager > Package Manager Console).
Get-Project server | Install-Package NServiceBus.RabbitMQ  -Version 5.0.0
Get-Project client | Install-Package NServiceBus.RabbitMQ  -Version 5.0.0
Then in the server and client project I changed my NServiceBus configuration to the following:
			endpointConfiguration.UseSerialization<NewtonsoftSerializer>();
			var transport = endpointConfiguration.UseTransport<RabbitMQTransport>();
			transport.UseDirectRoutingTopology();
			transport.ConnectionString("host=rabbitserver");
If you want to know more about topology options you can look through the docs.
Now we can run both the server and the client and watch the RabbitMQ management page to see if the exchanges and queues are created.
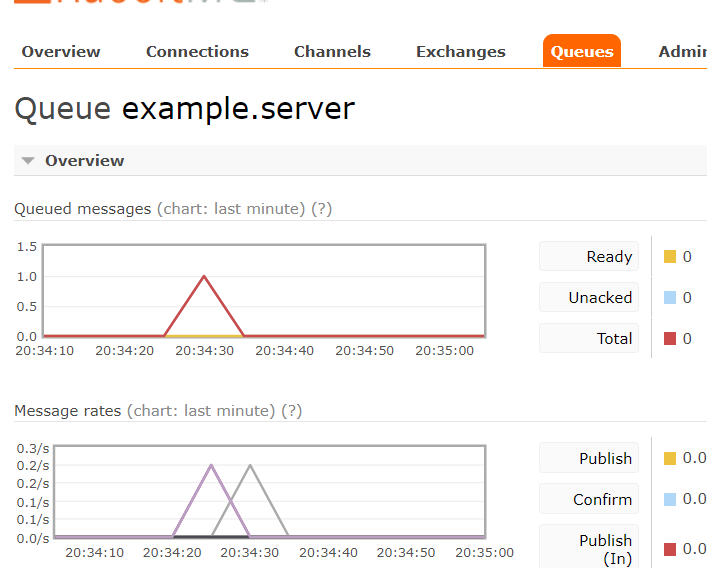
Also we should also be able to see message being handled by the server via RabbitMQ transport.
Leave a Reply