When it comes to version control, there are two main ways to manage your code: using the git command line or using visual studio’s git GUI tools. Both methods have their advantages and disadvantages, so it ultimately comes down to personal preference.
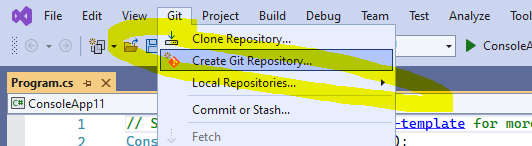
To initialize a repository using the git command line, you would use the “git init” command. This creates a new local repository in the current directory. On the other hand, in visual studio, you can initialize a repository by going to the “Git” drop down menu and clicking “Create Git Repository…”. What is cool about the GUI tools is it can integrate with AzureDevOps or GitHub directly. It also does some bonus features of adding ignore files, license templates, and a readme.
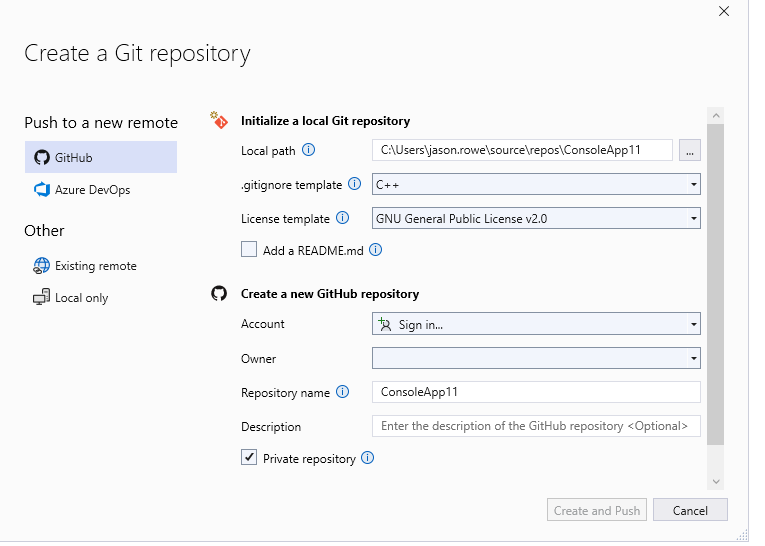
https://learn.microsoft.com/en-us/visualstudio/version-control/git-create-repository?view=vs-2022
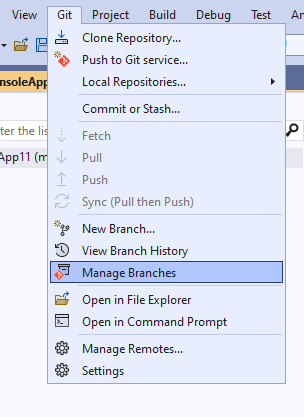
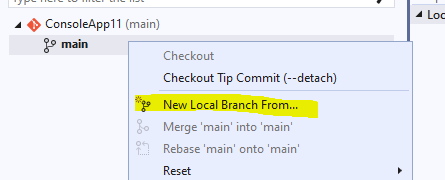
Creating branches is an important part of managing your code, and both methods offer similar functionality. In the git command line, you can create a new branch using the “git branch” command followed by the name of the new branch. In visual studio, you can create a new branch in a few ways. The most verbose way is by going to the “Git” menu at the top and clicking the “Manage Branches”.
From the branches view, right click on “main” and select “New Local branch from”
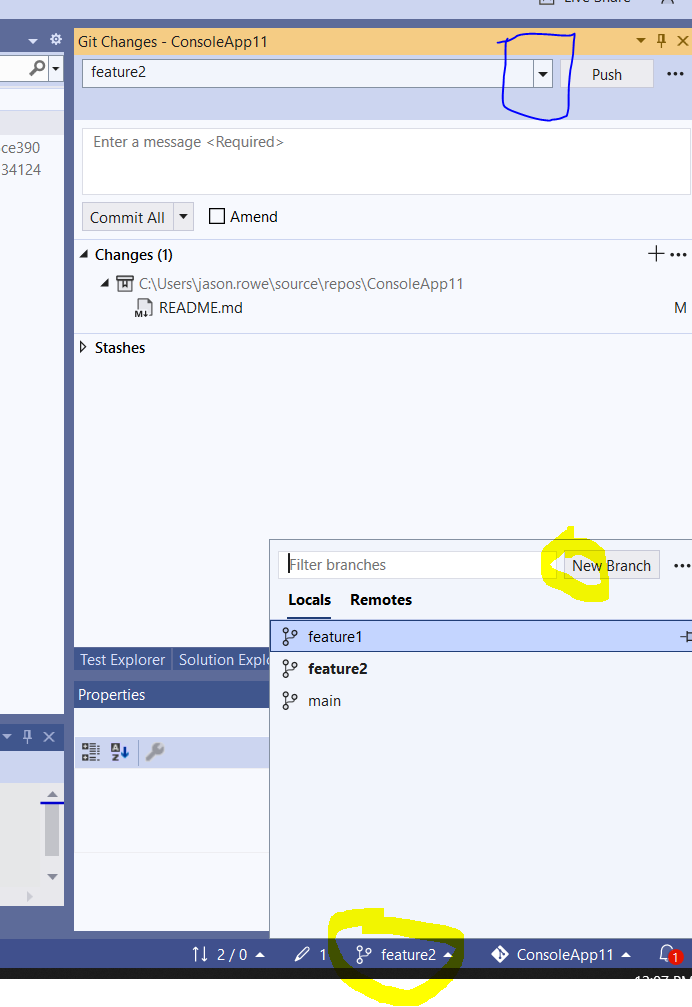
Add a branch name and click the “Create” button. You will see a checkbox for “Checkout branch. This means it will automatically switch to that branch when complete.
Another option to manage or create branches is via the “Git Changes” tab or the branch selector in the bottom right of Visual Studio. These are much faster then using the “Manage Branches” window.
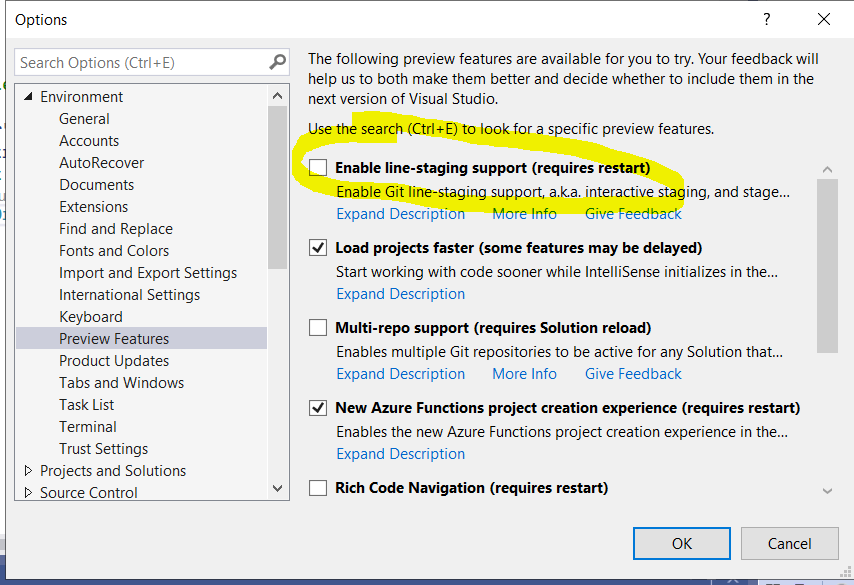
Staging changes is the process of preparing your changes to be committed to the repository. In the git command line, you can use the “git add” command to stage changes to files or specific lines of code. In visual studio, you can stage changes by going to the “Git Changes” section in the “Team Explorer” tab and selecting the files you want to stage. Visual Studio also has a feature to stage just some lines of a file. Line staging is a preview feature in Visual Studio which you can enable via the preview menu.
Once you’ve staged your changes, you can commit them to the repository. In the git command line, you would use the “git commit” command followed by a message describing the changes. In visual studio, you can commit your changes by going to the “Git Changes” section in the “Team Explorer” tab and entering a message in the “Comment” field before clicking the “Commit All” button.
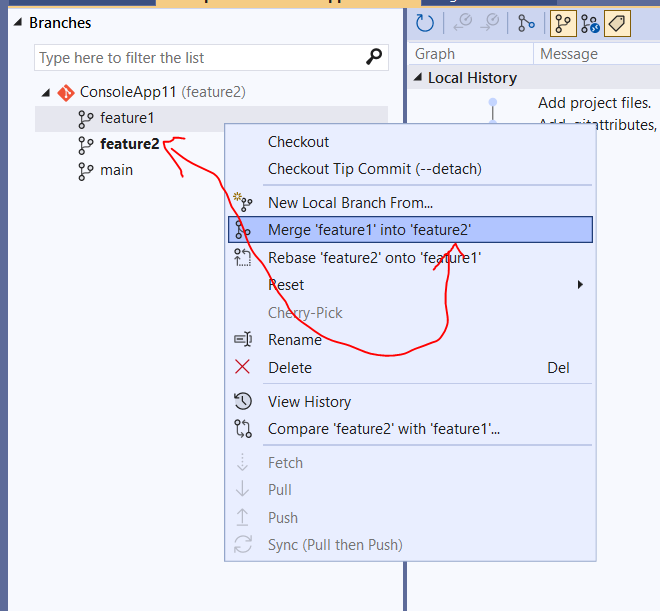
Finally, merging branches is an essential part of working with git. In the git command line, you can use the “git merge” command followed by the name of the branch you want to merge. In visual studio, you can merge branches by going to the “Git menu” at the top and selecting manage branches. Make sure to switch to the branch you want to merge into then right click on the source branch to find the menu item to do the merge.
Overall, both the git command line and visual studio’s git GUI tools offer similar functionality when it comes to managing your code with git. Whether you prefer the simplicity of the command line or the visual aids of the GUI tools is ultimately up to you. I will say knowning how git works under the covers will help you with more complex operations such as merging, revert, and cherry-picking but all can be done easily via Visual Studio after some learning.
Leave a Reply